Windows Mail hides the settings a bit, but with these steps you'll set up your email address in no time. After that, you can simply read your mail in this program.
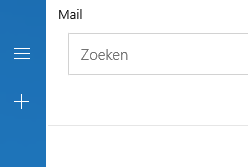
First, open the menu in the top left corner (the 3 horizontal lines) and choose Accounts from the menu that appears.
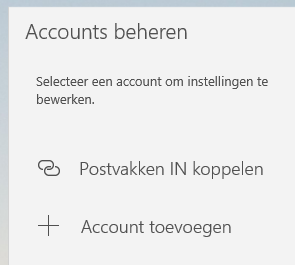
The Manage accounts screen will now open on the right. Choose Add account here.
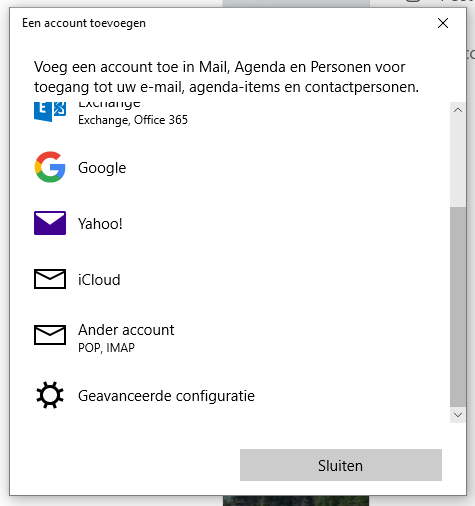
Scroll down in the new screen and choose Advanced setup.
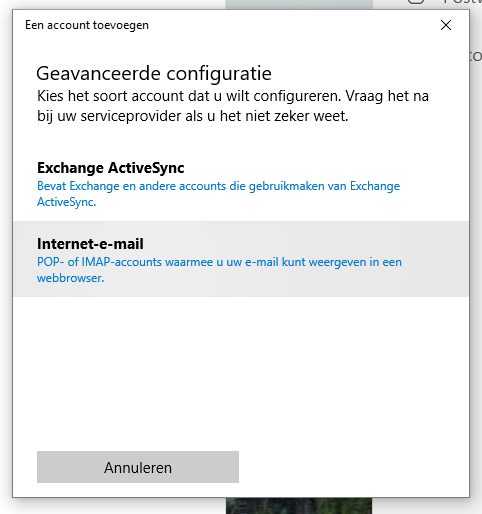
Now indicate which type of account you are setting up. Choose the 2nd option: Internet email.
A screen will now appear where you fill in all your login details:

For Email address and User name, fill in your full email address. For Password, fill in the password for this email address. You can fill in the Account name and Send your messages using this name fields yourself.
For Incoming email server, fill in pop3.bhosted.nl if you choose POP3 for Account type. If you choose IMAP, fill in imap.bhosted.nl here. For Outgoing email server (SMTP), fill in smtp.bhosted.nl.
Leave the other checkboxes as they are and then click Sign-in.
After signing in, you will see the message All done! Your account was set up successfully. If there is a mistake somewhere in the details, you will get an error message. In that case, check all the details again and compare them with the explanation above.
Is everything correct? Then click Done. Your email address is now ready for use.