Since we switched from Apache to LiteSpeed, you can also use the LiteSpeed Cache plugin within WordPress. This is automatically installed on every new installation. Did you already have a WordPress website with us using a different caching plugin? Then this does not happen automatically.
We do this deliberately, because running multiple caching plugins at the same time on one installation often causes problems. So if you're already using another cache plugin? Then remove it first and then start using the LiteSpeed Cache plugin.
Removing the old cache plugin:
First log in to the dashboard of your WordPress website.
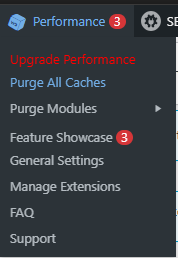
With most cache plugins you can clear the cache before removing the plugin, and it's best to do so. In this example we use the plugin W3 Cache. To clear the cache, go to the plugin's logo at the top and choose Purge All Caches:
Then choose Installed plugins at the bottom left under Plugins:
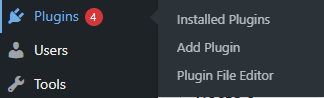
Find the plugin and choose Deactivate:

After that, the option to delete the plugin will appear. Choose Delete:

Installing the LiteSpeed plugin:
First log in to the dashboard of your WordPress website.
Choose Add plugin at the bottom left under Plugins:
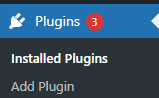
Search for litespeed at the top right:

For LiteSpeed Cache, choose Install Now:
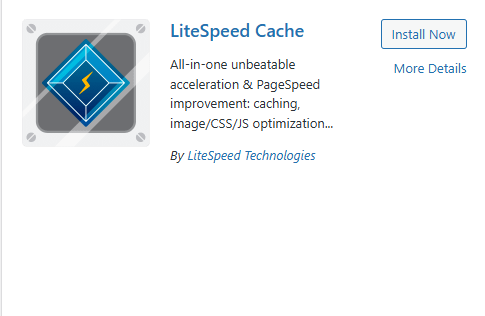
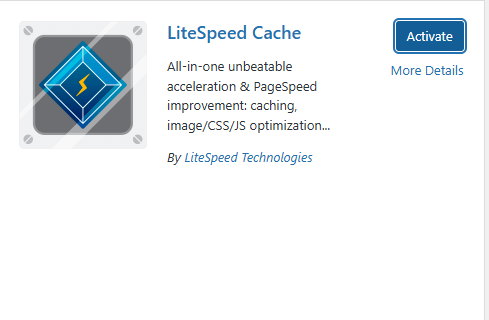
Then, in the same screen, choose Activate:
Done! The plugin is now active. In most cases, you don't need to configure anything further.