What is a CDN?
A CDN (Content Delivery Network) ensures that your website's files, such as images, CSS and JavaScript files, are loaded from a server that is geographically close to your visitor.
This makes your website load faster and reduces the load on your own web server.
You can use a CDN for example for:
- 🚀 Faster loading times for your website
- 📉 Less load on your web server
- 🌍 Better performance for visitors from different countries
- 🛡️ Extra protection against certain types of unwanted traffic
A CDN is especially useful for websites with a lot of visitors, large files or visitors from different countries.
Logging in to mijn.bHosted.nl
First log in to mijn.bHosted.nl with your username and password.
Then click the Manage button at the top right under Domains.
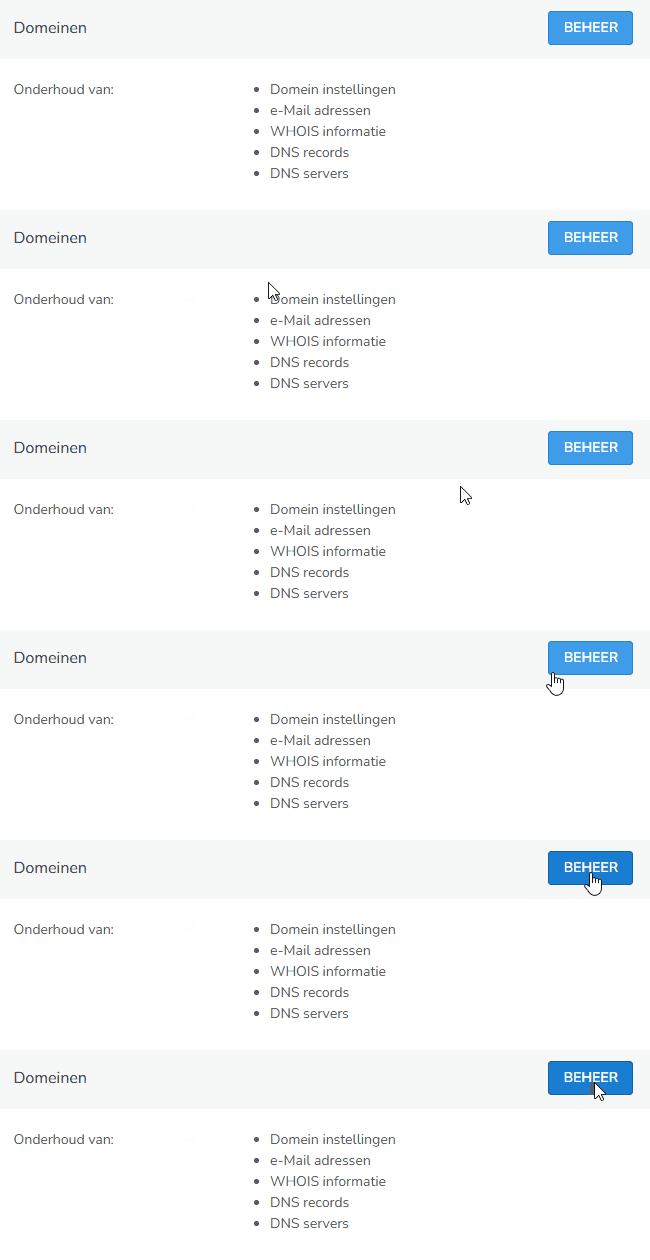
Opening the desired domain name
You will now see an overview of all domains in your account.
Click on the domain name for which you want to create a CDN.
Opening the CDN settings
On the right, under Go to..., choose CDN settings.

Creating a new CDN
On this page, under Actions, choose Create new CDN.
Check whether the Website URL is correct, i.e. whether it is the domain name with or without www: https://www.yourdomainname.nl
or:
Then click the blue Create button.
Your CDN will now be created. Save the full URL at which the CDN was created, for example:
https://cnd.yourdomainname.nl
DNS record
When the CDN is created, a CNAME record is automatically created in the DNS of your domain name.
After this, wait approximately 10 minutes before activating the CDN in the next step.
Setting up the CDN in WordPress with LiteSpeed Cache
Log in to your WordPress website and go to the LiteSpeed Cache plugin. Not active yet? Then install it first.
Note: no other cache plugin may be active, otherwise this can cause problems. Do you want to remove another cache plugin? First check whether specific steps are needed for that plugin before removing it.
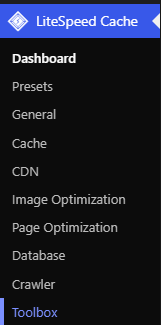
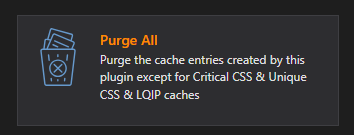
Is the plugin already active? Then first clear the cache before setting up the CDN. You do this by choosing Toolbox in the LiteSpeed Cache menu:
In this overview, choose Purge All:
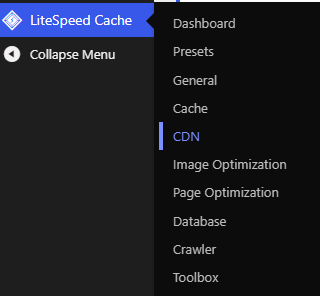
Then click on CDN on the left in the dashboard under LiteSpeed Cache:
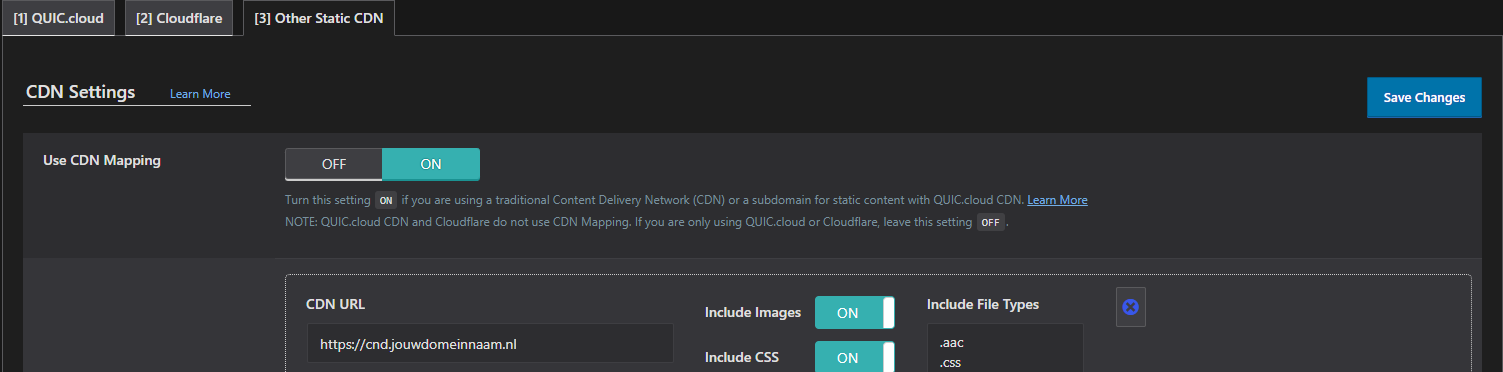
Choose the [3] Other Static CDN tab and enter the URL at which your CDN was created (https://cnd.yourdomainname.nl). Then set Use CDN Mapping to ON and choose Save Changes:
Your CDN is now active. It may take a while before the change is fully implemented.
Tips
- Use a CDN especially for websites with a lot of visitors or large files.
- After setting it up, check whether your website still works properly and all images load correctly.
- A CDN makes your website faster, but does not replace proper website optimization.
- Use HTTPS for a secure connection between visitors and your website.
- Regularly check the settings and traffic of your CDN.
- Making changes to your website? Then it may be necessary to clear the cache of your CDN.
Are you experiencing problems during setup? Then contact our helpdesk, we're happy to help you further!